Steps to Achieve Remote Control in 3CX WebMeeting
1. Initiate the Remote Control Process
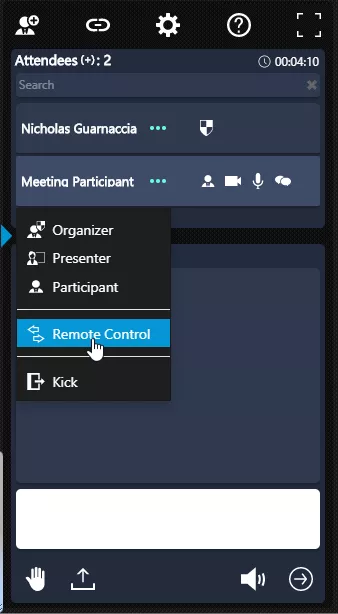
During a WebMeeting, click on the desired participant’s name, which will trigger a dropdown menu.
2. Selection of ‘Remote Control’
Within the dropdown, choose the ‘Remote Control’ option.
3. Participant’s Permission
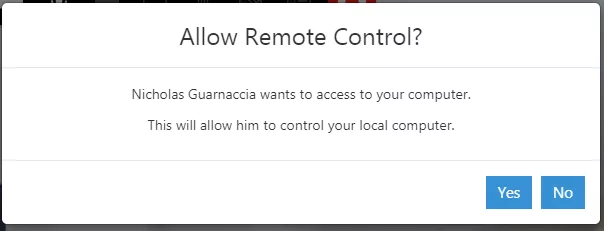
The participant will then receive a prompt, asking for permission to grant or deny access.
4. Installation of the Essential Application
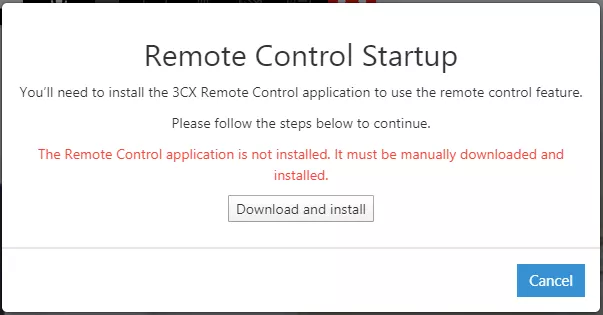
If this is the participant’s maiden experience, they’ll be guided to install a specific application, facilitating remote access.
5. Commence the Download & Installation
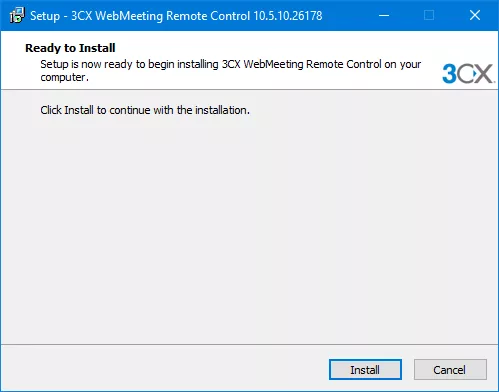
The participant should select ‘Download’, followed by ‘Install’. Once this application is installed successfully, 3CX will be primed to provide remote access.
6. Activation of the Remote Control Session
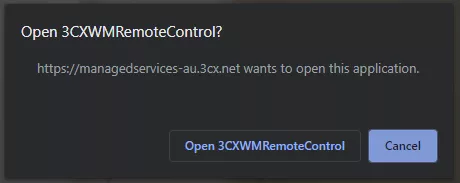
By selecting ‘Open 3CXWMRemoteControl’, the session will be initiated, allowing you to view and take control of the participant’s screen.
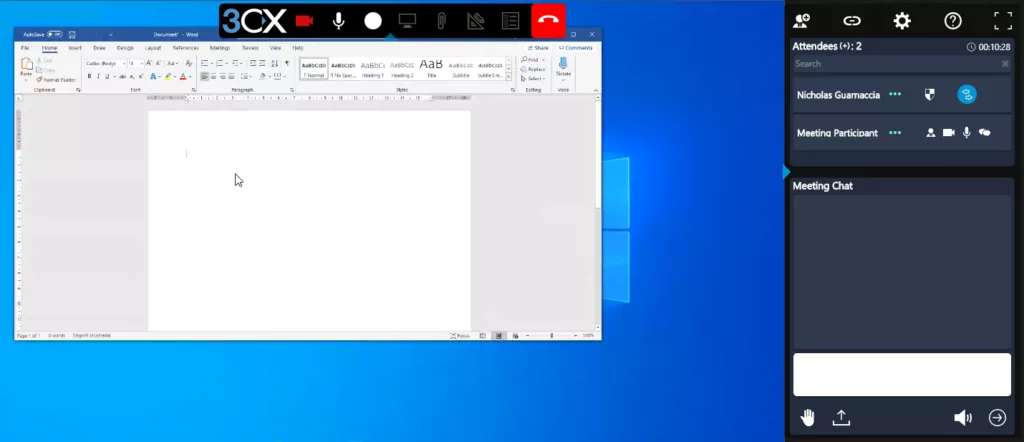
Discover the Expanse of 3CX WebMeeting Features
3CX WebMeeting offers an abundance of functionalities, from smooth file sharing to intuitive remote control. Delve deeper with a comprehensive demo offered by our team. To explore the realms of enhanced digital interaction, get in touch with us at 1300 024 748.


